
Free Shipping & Free Return

Optimizing kitchen layouts requires careful planning of every square inch, especially the awkward, hard-to-reach zone directly above the refrigerator. Installing a functional, visually seamless Over Fridge Cabinet is one of the most effective ways to convert this often-wasted area into premium, integrated storage while elevating the overall aesthetic of your kitchen design. Whether you are embarking on a full-scale kitchen renovation or seeking minor functional upgrades, understanding the structural, spatial, and stylistic nuances of overhead refrigerator cabinetry is essential for a high-end, durable outcome.
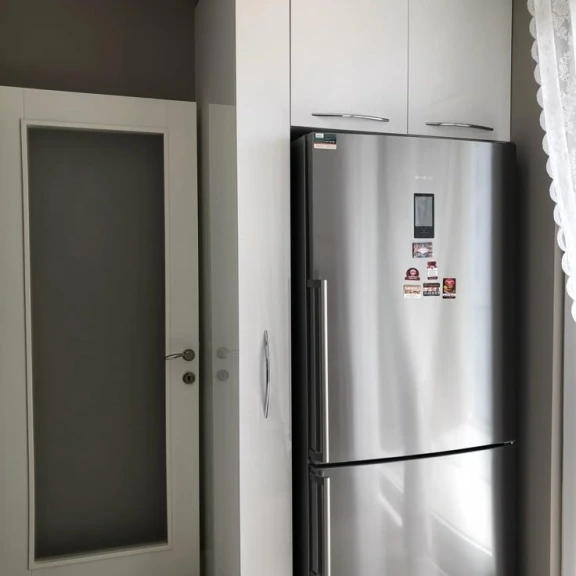
Historically, the space above a refrigerator was treated as an afterthought. Homeowners often encountered a shallow, 12-inch-deep cabinet hung high on the wall, leaving a massive, dust-collecting gap between the cabinet front and the face of the appliance. This configuration not only looked disjointed but also made the storage space practically useless, as items slid to the back and became completely inaccessible without a stepladder.
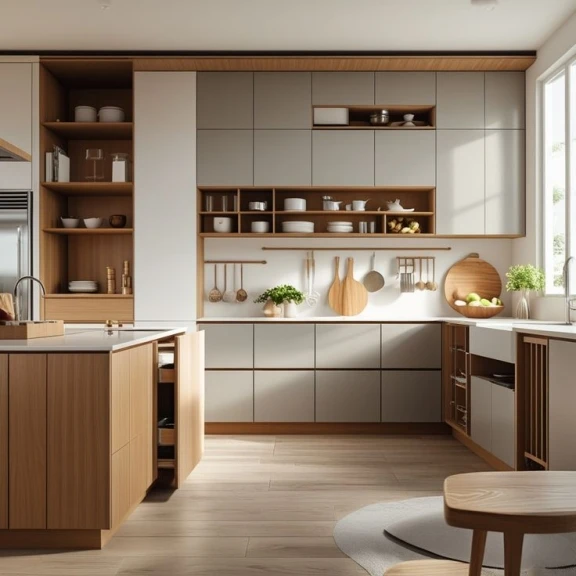
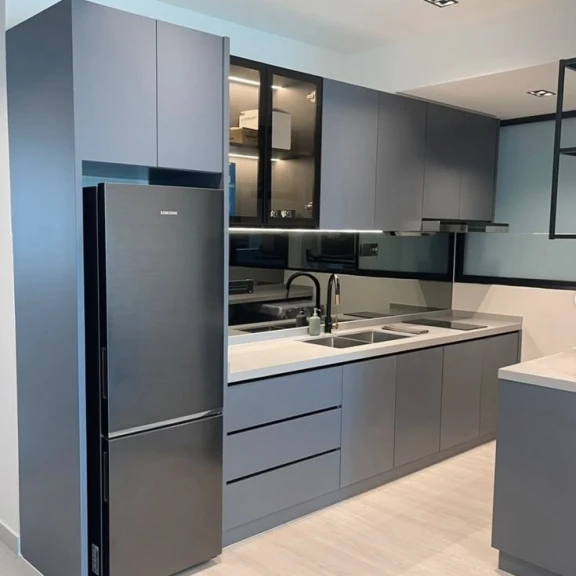
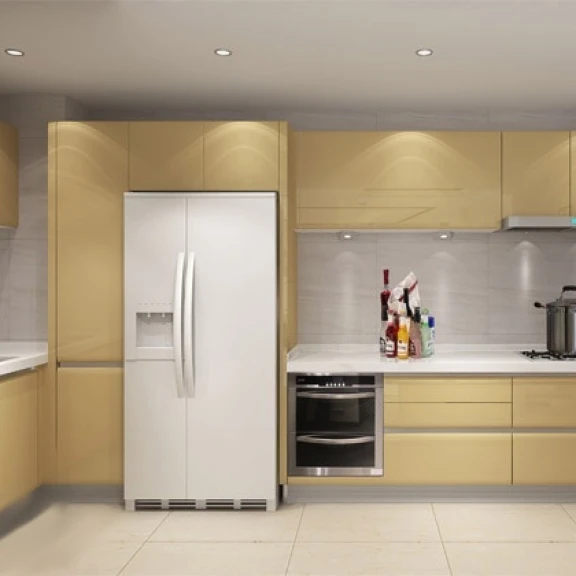
Modern kitchen design has shifted dramatically toward a built-in, integrated aesthetic. Today, premium kitchen cabinet interiors prioritize both ergonomics and visual continuity. Bringing the overhead cabinet forward to match the depth of the refrigerator carcass—or even the doors—creates a flush, architectural look that mimics expensive integrated appliances. This design evolution serves two primary purposes: it maximizes usable storage volume and eliminates the unsightly visual gaps that disrupt the clean lines of a contemporary kitchen.
Designing an overhead cabinet is not merely a matter of filling empty space; it requires precise mathematical calculations to ensure both the cabinetry and the appliance function optimally over time. Failing to account for heat dissipation or appliance movement can lead to costly structural damage or premature refrigerator failure.
Refrigerators are hardworking thermodynamic machines. They extract heat from their interiors and expel it into the surrounding room. To do this efficiently, they require a constant, unobstructed flow of air around their chassis. Without proper ventilation, the compressor works twice as hard, leading to soaring energy bills and a significantly shortened appliance lifespan.
The depth of your overhead cabinet dictates both its storage capacity and its visual impact. There are two primary depth configurations to consider:
The width of the overhead cabinet must align perfectly with the overall width of the refrigerator opening, which is typically bordered by full-height utility panels (often called refrigerator return panels or gables). Common standard widths include 30, 33, and 36 inches.
To determine the height of the cabinet, subtract the height of your refrigerator (plus the required top clearance) from your total ceiling height or the top line of your surrounding wall cabinets. For instance, in a kitchen with a 9-foot ceiling (108 inches) and a standard 70-inch-tall refrigerator, you have approximately 38 inches of vertical space to allocate between the overhead cabinet, crown moulding, and ventilation gaps.
Because overhead cabinets sit high off the floor, choosing the right door style and opening mechanism is critical to ensuring the space remains user-friendly. Standard side-hinged doors can be awkward to navigate when standing on a stool, but several alternative configurations offer superior ergonomics.
The traditional double-door configuration is a reliable and cost-effective option. When opting for this style, ensure the doors are equipped with high-quality, wide-angle hinges (such as 110-degree or 170-degree soft-close hinges) to allow them to swing completely out of your way. This prevents you from bumping your head when reaching into the deep recesses of the cabinet.
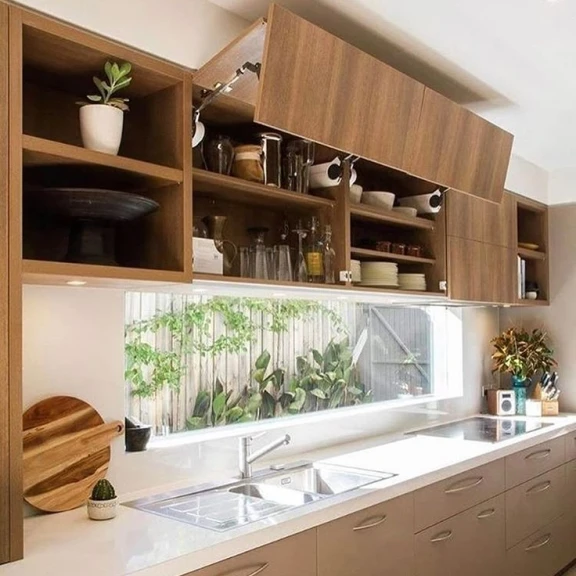
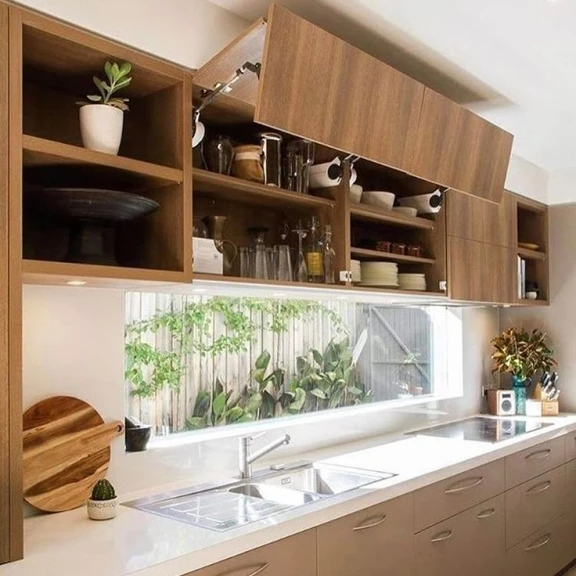
For modern, minimalist kitchens, upward-opening lift systems represent the pinnacle of convenience and style. Using advanced mechanical hardware, these doors lift vertically or swing up and over the cabinet frame. This eliminates the hazard of open doors swinging out into your face or blocking adjacent pathways.
If you choose a full-depth 24-inch cabinet, reaching items at the very back can be incredibly challenging. Installing heavy-duty pull-out trays or drawer runners inside the cabinet solves this issue instantly. With a gentle pull, the entire contents of the cabinet glide forward, bringing items from the deepest corners directly into view and reach.
If closed storage is not a priority, the space above the refrigerator can be styled with open shelving, cubbies, or a custom wine rack. This breaks up a heavy run of solid cabinetry, introducing texture, color, and visual interest into the kitchen layout. It is a fantastic option for displaying cookbooks, decorative ceramic bowls, or a curated collection of wines.
An organized interior is what separates mediocre cabinetry from high-performance kitchen design. Because the overhead cabinet is deeply recessed and highly elevated, generic storage methods often fail. Specialized interior hardware is required to maximize this unique zone.
One of the most practical ways to utilize a deep over-fridge cabinet is to install vertical dividers. This setup transforms the cabinet into an organized storage hub for flat, awkward items that are difficult to stack horizontally. By standing these items upright, you can slide them out individually without having to lift heavy, unstable stacks.
For shorter individuals or those seeking maximum accessibility, mechanical pull-down shelves are a game-changer. These spring-assisted metal baskets pull outward and downward, lowering the contents of your cabinet by 10 to 15 inches to bring them comfortable within arms' reach. Once you have retrieved your item, the hydraulic assist helps you glide the shelf effortlessly back into its locked position.
If custom pull-outs are not within your budget, high-sided plastic or wire bins are an excellent alternative. Grouping items by category—such as holiday baking supplies, paper party goods, or seasonal small appliances—allows you to pull down an entire bin at once, find what you need, and slide the bin back in place safely.
An overhead refrigerator cabinet is inherently subject to significant structural stress. It is a deep, heavy wooden box suspended high off the ground, often loaded with heavy appliances or stacks of platters. Proper structural support and installation are paramount to ensuring the cabinet does not sag, pull away from the wall, or collapse over time.
A freestanding overhead cabinet secured only to the back wall is highly susceptible to sagging. To prevent this, professional installers utilize full-height side panels, often referred to as refrigerator gables or return panels. These panels run from the floor all the way to the top of the cabinetry, sandwiching the refrigerator and supporting the overhead cabinet from beneath.
This design transfers the massive vertical load of the cabinet directly down to the floor rather than relying solely on the shear strength of drywall anchors or wood screws in the wall studs. Furthermore, these panels hide the raw, unfinished sides of standard refrigerators, delivering a perfectly integrated, flush finish.
When mounting the cabinet, installers must locate the wall studs using a high-quality stud finder. The cabinet must be fastened directly into these timber or metal studs using heavy-duty cabinet installation screws with wide, washer-style heads. Never rely on plastic drywall anchors or toggle bolts for overhead cabinetry. Additionally, running a solid wood cleat along the wall underneath the cabinet provides an extra shelf of support during the installation process.
To achieve a truly seamless, integrated look with a standard freestanding refrigerator, you must manage the "reveal"—the gap between the appliance and the surrounding wood. Use scribe moulding or filler strips along the edges to close down excessive gaps, leaving just enough room for the necessary ventilation. This creates a clean shadow line that mimics the precision engineering of sub-zero, integrated refrigeration units.
Kitchen environments are harsh, characterized by high humidity, fluctuating temperatures, and grease-laden steam. Because the overhead cabinet sits directly above a heat-generating appliance and often adjacent to cooking zones, material selection is critical to ensuring long-term durability.
The core construction of your cabinet boxes (the carcass) must be robust enough to resist warping and sagging under heavy loads.
The exterior finish should not only match your surrounding cabinetry but also offer easy-to-clean, heat-resistant properties.
Integrating an overhead cabinet into your kitchen layout offers a canvas for architectural creativity. Depending on your home's design language, you can choose from various styling approaches to elevate your space.
In modern or Scandinavian-style kitchens, a clean, uninterrupted wall of cabinetry is highly desired. By employing touch-to-open latches or recessed finger pulls, you can eliminate external door hardware entirely. This makes the over-fridge cabinet blend seamlessly into the wall, appearing more like an architectural bulkhead than a storage unit.
If your kitchen features neutral perimeter cabinets, the refrigerator surround presents a perfect opportunity to introduce a contrasting accent color or texture. For instance, pairing matte black perimeter cabinets with a rich, warm white oak refrigerator surround and overhead cabinet creates a stunning, high-contrast focal point that anchors the entire room.
Don't overlook the potential of lighting. Installing low-profile LED strip lighting underneath the overhead cabinet—shining down onto the top or front of the refrigerator—creates a beautiful ambient glow that enhances the kitchen's spatial depth at night. It also provides functional visibility when accessing the appliance doors in low-light settings.
Executing a successful overhead cabinet installation requires a systematic approach. Here is a practical roadmap to guide you through the planning, design, and execution phases:
Investing in high-quality kitchen cabinet interiors yields significant returns, both in terms of daily lifestyle convenience and long-term property resale value. Prospective homebuyers pay close attention to the kitchen; a space that boasts clever, integrated storage and premium, customized cabinetry immediately signals a well-maintained, high-end home. By eliminating awkward empty spaces and maximizing vertical storage, you not only make your kitchen highly functional but also elevate its visual appeal, making it a standout feature of your property.
Elite Cabinetry
Address: 7 Castlemore Mews, Ballajura WA 6066, Australia
Hotline: 0061416988655
Phone: 0061416988655
Email: sales@elitecabinetry.com.au
Website: https://elitecabinetry.com.au/